docker配合Nginx部署go应用
Nginx

什么是Nginx?
Nginx 是一个 Web Server,可以用作反向代理、负载均衡、邮件代理、TCP / UDP、HTTP 服务器等等,它拥有很多吸引人的特性,例如:
- 以较低的内存占用率处理 10,000 多个并发连接(每10k非活动HTTP保持活动连接约2.5 MB )
- 静态服务器(处理静态文件)
- 正向、反向代理
- 负载均衡
- 通过OpenSSL 对 TLS / SSL 与 SNI 和 OCSP 支持
- FastCGI、SCGI、uWSGI 的支持
- WebSockets、HTTP/1.1 的支持
- Nginx + Lua
名词解释
正向代理
举个例子,国内的用户想要访问 Google 时,会被阻挡。所以这个时候把请求发送到另外一个代理服务器(可以访问 Google 的服务器)上,由其代为转发请求和接收响应内容。
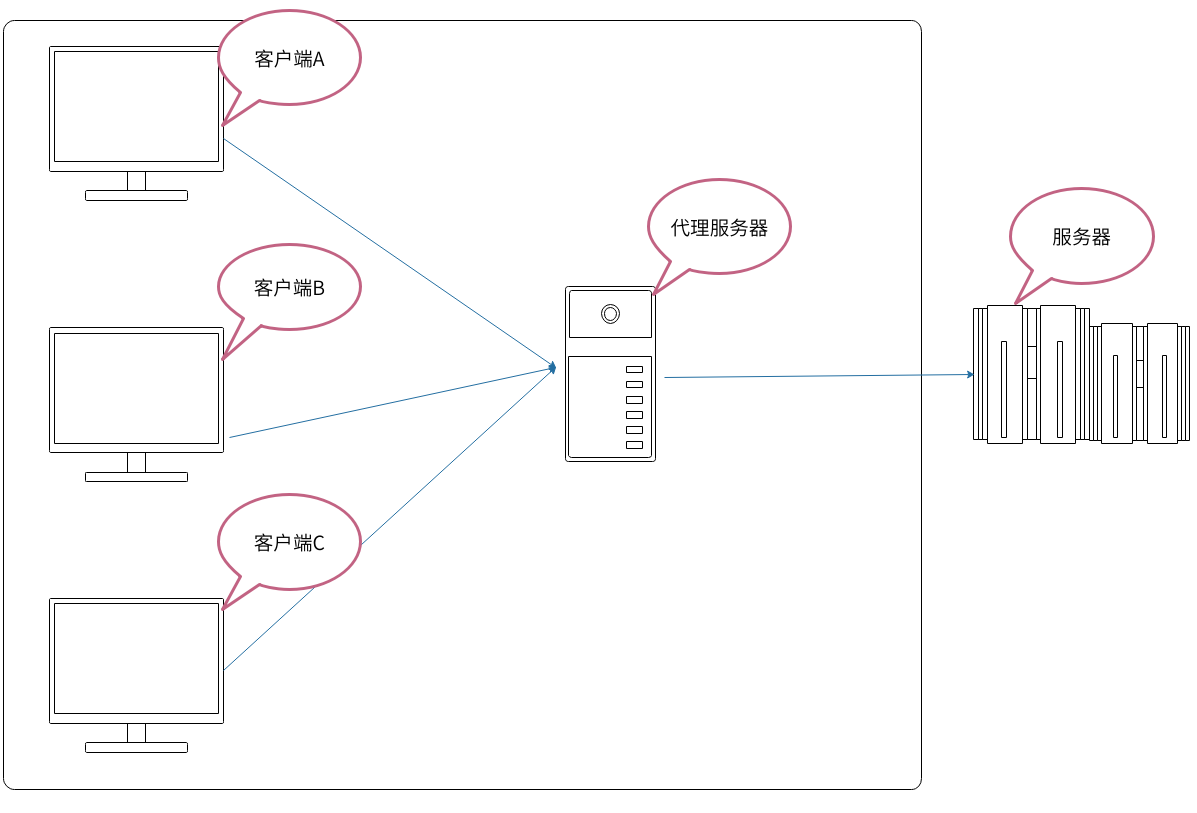
总结来说:正向代理 是一个位于客户端和原始服务器(origin server)之间的服务器,为了从原始服务器取得内容,客户端向代理发送一个请求并指定目标(原始服务器),然后代理向原始服务器转交请求并将获得的内容返回给客户端。客户端必须要进行一些特别的设置才能使用正向代理。
正向代理的用途:
-
(1)访问原来无法访问的资源,如google
-
(2) 可以做缓存,加速访问资源
-
(3)对客户端访问授权,上网进行认证
-
(4)代理可以记录用户访问记录(上网行为管理),对外隐藏用户信息
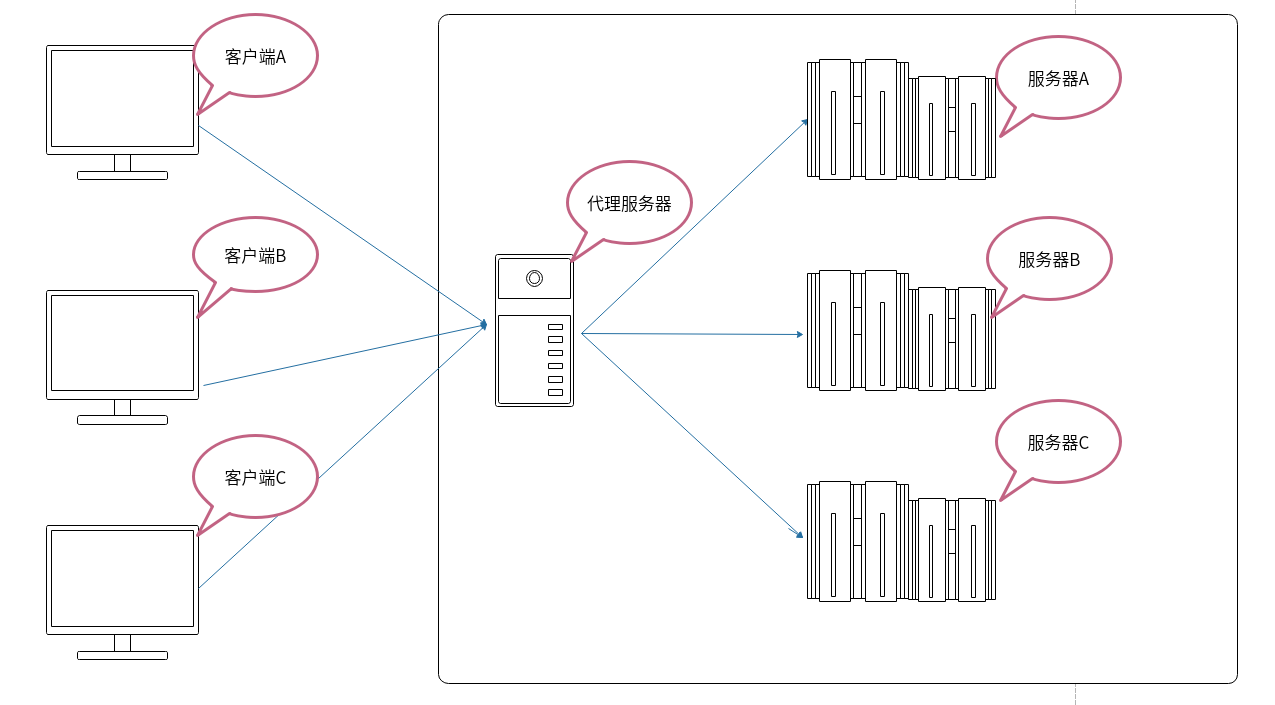
反向代理
反向代理服务器位于用户与目标服务器之间,但是对于用户而言,反向代理服务器就相当于目标服务器,即用户直接访问反向代理服务器就可以获得目标服务器的资源。同时,用户不需要知道目标服务器的地址,也无须在用户端作任何设定。反向代理服务器通常可用来作为Web加速,即使用反向代理作为Web服务器的前置机来降低网络和服务器的负载,提高访问效率。
反向代理的作用就比较多了,这里简单列举一下:
- (1)保护和隐藏原始资源服务器
- (2)加密和SSL加速
- (3)负载均衡
- (4)缓存静态内容
- (5)压缩
- (6)减速上传
- (7)安全
- (8)外网发布
区别:
正向代理需要你主动设置代理服务器ip或者域名进行访问,由设置的服务器ip或者域名去获取访问内容并返回;而反向代理不需要你做任何设置,直接访问服务器真实ip或者域名,但是服务器内部会自动根据访问内容进行跳转及内容返回,你不知道它最终访问的是哪些机器。
构建镜像
Nginx镜像
使用docker-composer构建Nginx,创建docker-compose.yml:
version: '2'
services:
  liz-nginx:
    image: nginx
    restart: always
    ports:
      - 8888:80
    volumes:
      - ./wwwroot:/usr/share/nginx/html
简单介绍下:
- version:表示使用那个版本的compose。
- service:就是要定义的docker容器
- nginx:容器的名称
- image:表示使用的镜像。我放的ngixn,也就是docker官方镜像上目前能找到最新版的镜像。
- restart:设置为always,表明此容器应该在停止的情况下总是重启,比如,服务器启动时,这个容器就跟着启动,不用手动启动。
- ports:这个是容器自己运行的端口号和需要暴露的端口号。比如: - 8080:80,表示容器内运行着的端口是80,把端口暴露给8080端口,从外面访问的是8080端口,就能自动映射到80端口上。
- volumes:这个是数据卷。表示数据、配置文件等存放的位置。
创建docker-compose.yml,然后启动。
# docker-compose up -d
Starting nginx_liz-nginx_1 ... done
然后访问网址
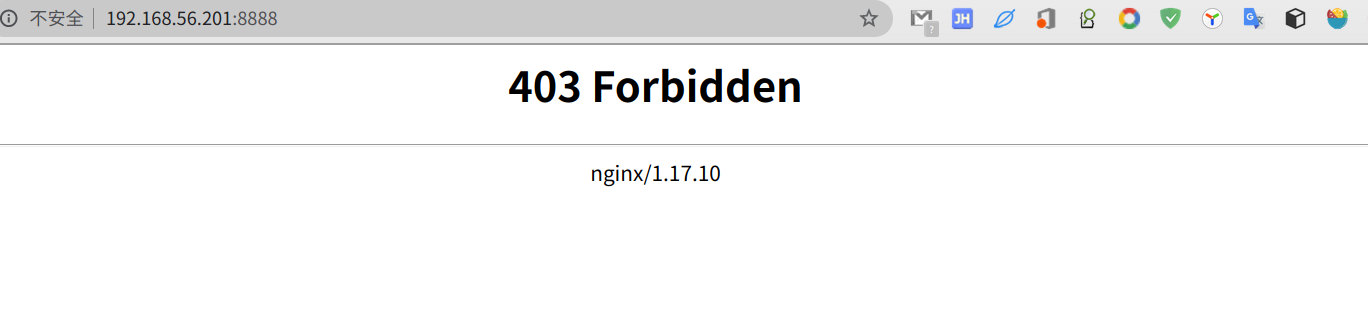
因为我们把wwwroot挂载到/usr/share/nginx/html里面了,当时里面没有放初始化的页面。
在wwwroot里面新建index.html,然后再次访问

成功了。
配置nginx.conf
然后尝试把ngixn需要的配置文件也通过文件挂载的方式加进去。
那么我们来简单了解些nginx中的配置文件nginx.conf
#定义Nginx运行的用户和用户组
#user  nobody;

#nginx进程数,建议设置为等于CPU总核心数。
worker_processes  1;

#全局错误日志定义类型,[ debug | info | notice | warn | error | crit ]
#error_log  logs/error.log;
#error_log  logs/error.log  notice;
#error_log  logs/error.log  info;

#进程文件
#pid        logs/nginx.pid;

#工作模式与连接数上限
events {
    #单个进程最大连接数(最大连接数=连接数*进程数)
    worker_connections  1024;
}

#设定http服务器
http {
    #文件扩展名与文件类型映射表
    include       mime.types;
    #默认文件类型
    default_type  application/octet-stream;

    #log_format  main  '$remote_addr - $remote_user [$time_local] "$request" '
    #                  '$status $body_bytes_sent "$http_referer" '
    #                  '"$http_user_agent" "$http_x_forwarded_for"';

    #access_log  logs/access.log  main;

    #开启高效文件传输模式,sendfile指令指定nginx是否调用sendfile函数来输出文件,对于普通应用设为 on,如果用来进行下载等应用磁盘IO重负载应用,可设置为off,以平衡磁盘与网络I/O处理速度,降低系统的负载。注意:如果图片显示不正常把这个改 成off。
    sendfile        on;

    #防止网络阻塞
    #tcp_nopush     on;


    #长连接超时时间,单位是秒
    #keepalive_timeout  0;
    keepalive_timeout  65;

    #开启gzip压缩输出
    #gzip  on;

    #虚拟主机的配置
    server {
        #监听端口
        listen       80;

        #域名可以有多个,用空格隔开
        server_name  localhost;

        #默认编码
        #charset utf-8;

        #定义本虚拟主机的访问日志
        #access_log  logs/host.access.log  main;

        location / {
            root   html;
            index  index.html index.htm;
        }

        #error_page  404              /404.html;

        # redirect server error pages to the static page /50x.html
        #
        error_page   500 502 503 504  /50x.html;
        location = /50x.html {
            root   html;
        }

        # proxy the PHP scripts to Apache listening on 127.0.0.1:80
        #
        #location ~ \.php$ {
        #    proxy_pass   http://127.0.0.1;
        #}

        # pass the PHP scripts to FastCGI server listening on 127.0.0.1:9000
        #
        #location ~ \.php$ {
        #    root           html;
        #    fastcgi_pass   127.0.0.1:9000;
        #    fastcgi_index  index.php;
        #    fastcgi_param  SCRIPT_FILENAME  /scripts$fastcgi_script_name;
        #    include        fastcgi_params;
        #}

        # deny access to .htaccess files, if Apache's document root
        # concurs with nginx's one
        #
        #location ~ /\.ht {
        #    deny  all;
        #}
    }


    # another virtual host using mix of IP-, name-, and port-based configuration
    #
    #server {
    #    listen       8000;
    #    listen       somename:8080;
    #    server_name  somename  alias  another.alias;

    #    location / {
    #        root   html;
    #        index  index.html index.htm;
    #    }
    #}


    # HTTPS server
    #
    #server {
    #    listen       443 ssl;
    #    server_name  localhost;

    #    ssl_certificate      cert.pem;
    #    ssl_certificate_key  cert.key;

    #    ssl_session_cache    shared:SSL:1m;
    #    ssl_session_timeout  5m;

    #    ssl_ciphers  HIGH:!aNULL:!MD5;
    #    ssl_prefer_server_ciphers  on;

    #    location / {
    #        root   html;
    #        index  index.html index.htm;
    #    }
    #}
}
创建ngixn.conf
user  nginx;
# 指定使用 CPU 资源数量
worker_processes  1;

events {
    # 连接数
    worker_connections  1024;
}

http {
    include       mime.types;
    default_type  application/octet-stream;
    sendfile        on;
    keepalive_timeout  65;

	# 虚拟主机一配置
    server {
        # 指定端口
        listen       80;
        # 指定 IP (可以是域名)
        server_name  127.0.0.1;
        location / {
            # 虚拟主机内的资源访问路径
            root   /usr/share/nginx/html;
            # 首页
            index  index.html index.htm;
        }
    }
}
然后把我们的nginx.conf的配置文件给挂载进去
version: '2'
services:
  liz-nginx:
    image: nginx
    restart: always
    ports:
      - 8888:80
    volumes:
      - ./conf/nginx.conf:/etc/nginx/nginx.conf
      - ./wwwroot:/usr/share/nginx/html
然后启动docker-compose up -d
再次访问

server_name
对于其中的server_name具体是如何使用的呢?
server name 为虚拟服务器的识别路径。因此不同的域名会通过请求头中的HOST字段,匹配到特定的server块,转发到对应的应用服务器中去。
我们重新配置nginx.conf
user  nginx;
# 指定使用 CPU 资源数量
worker_processes  1;

events {
    # 连接数
    worker_connections  1024;
}

http {
    include       mime.types;
    default_type  application/octet-stream;
    sendfile        on;
    keepalive_timeout  65;


    server {
        # 指定端口
        listen       80;
        # 指定 IP (可以是域名)
        server_name  www.liz.com;
        location / {
            # 虚拟主机内的资源访问路径
            root   /usr/share/nginx/html;
            # 首页
            index  indexa.html index.htm;
        }
    }
    server {
        # 指定端口
        listen       80;
        # 指定 IP (可以是域名)
        server_name  www.liz.*;
        location / {
            # 虚拟主机内的资源访问路径
            root   /usr/share/nginx/html;
            # 首页
            index  indexb.html index.htm;
        }
    }
}
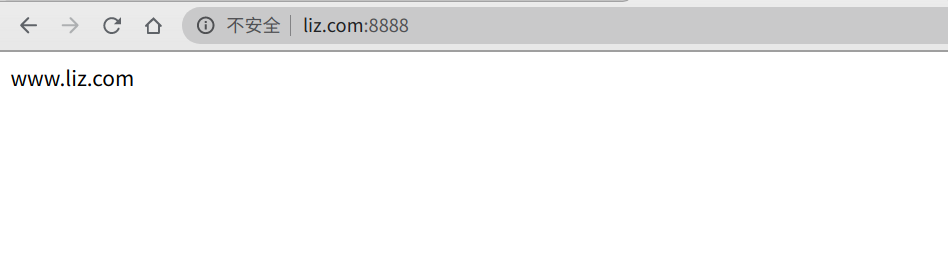
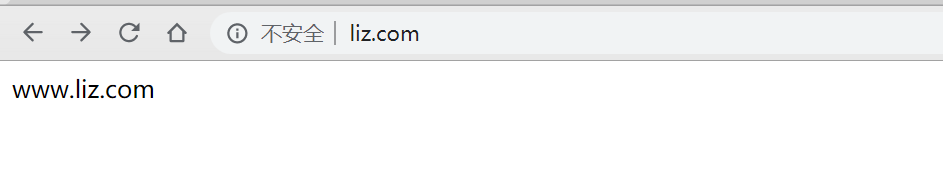
上面的www.liz.com指向的是indexa.html,www.liz.*指向的是indexb.html。
然后在本机的hosts中加入:
192.168.56.201 www.liz.com
192.168.56.201 www.liz.cn
192.168.56.201 www.liz.org
我虚机的ip是192.168.56.201
重启,我们看下具体的访问。
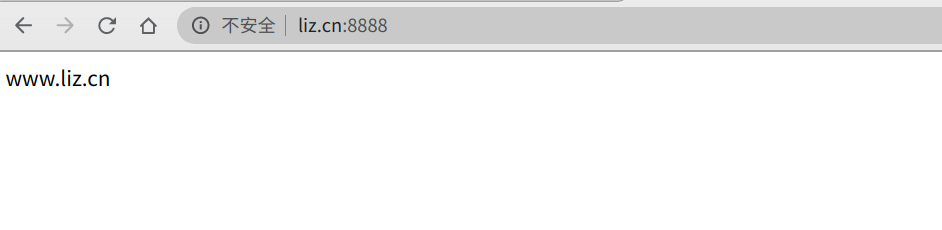
这样通过域名加端口的访问好奇怪。http的请求默认的是80,端口。我们只要把docker-compose中配置的80端口也映射到虚机的80就好了。
version: '2'
services:
  liz-nginx:
    image: nginx
    restart: always
    ports:
      - 8888:80
      - 80:80
    volumes:
      - ./conf/nginx.conf:/etc/nginx/nginx.conf
      - ./wwwroot:/usr/share/nginx/html
然后探讨下如何使用nginx部署go项目
首先跑起来一个go项目,这个之前已经做过了,可以参考https://www.cnblogs.com/ricklz/p/12860434.html
直接拿之前创建的镜像,构建docker-compose.yml。我就直接把nginx和go放到同一个docker-compose.yml中了。
version: '2'


services:
  liz-nginx:
    image: nginx
    container_name: liz.com
    restart: always
    ports:
      - 8888:80
      - 80:80
    volumes:
      - ./wwwroot:/usr/share/nginx/html
      - ./conf/nginx.conf:/etc/nginx/nginx.conf

  test-docker:
    container_name: test-docker2
    image: liz2019/test-docker-go-hub
    restart: always
    ports:
      - 8020:8000
然后修改ngixn的配置文件
user nginx;
# 指定使用 CPU 资源数量
worker_processes  1;

events {
    # 连接数
    worker_connections  1024;
}

http {
    include       mime.types;
    default_type  application/octet-stream;
    sendfile        on;
    keepalive_timeout  65;


    server {
        # 指定端口
        listen       80;
        # 指定 IP (可以是域名)
        server_name  www.liz.com;
        location / {
            # 虚拟主机内的资源访问路径
            root   /usr/share/nginx/html;
            # 首页
            index  indexa.html index.htm;
        }
    }
    server {
        # 指定端口
        listen       80;
        # 指定 IP (可以是域名)
        server_name  www.liz.*;
        location / {
            # 虚拟主机内的资源访问路径
            proxy_pass  http://test-docker2:8000;
        }
    }
}
Nginx中的负载均衡
Load balancing across multiple application instances is a commonly used technique for optimizing resource utilization, maximizing throughput, reducing latency, and ensuring fault-tolerant configurations.
It is possible to use nginx as a very efficient HTTP load balancer to distribute traffic to several application servers and to improve performance, scalability and reliability of web applications with nginx.
nginx中实现了三种的负载策略:
- 轮循(默认) Nginx根据请求次数,将每个请求均匀分配到每台服务器
- 最少连接 将请求分配给连接数最少的服务器。Nginx会统计哪些服务器的连接数最少。
- IP Hash 绑定处理请求的服务器。第一次请求时,根据该客户端的IP算出一个HASH值,将请求分配到集群中的某一台服务器上。后面该客户端的所有请求,都将通过HASH算法,找到之前处理这台客户端请求的服务器,然后将请求交给它来处理。
轮询
upstream块
upstream定义了一个上游服务器的集群,便于反向代理中的proxy_pass使用
http {
    upstream myapp1 {
        server srv1.example.com;
        server srv2.example.com;
        server srv3.example.com;
    }

    server {
        listen 80;

        location / {
            proxy_pass http://myapp1;
        }
    }
}
server
server配置项指定了上游服务器的名字,这个名字可以是域名,IP地址端口,UNIX句柄等,在其后面也可以跟下列的参数
- weight=number:设置这台上游服务器的转发权重,默认是1。
- max_fails=number:该选项与
fail_timeout配合使用,指的是如果在fail_timeout时间段内,如果向上游的服务器转发次数超过number, 则认为在当前的fail_timeout时间段内这台上游服务器不可用。max_fails的默认值是1,如果设置成0表示不检查失败次数。 - fail_timeout:表示该段时间内转发失败多少次后就认为上游服务器暂时不可用,用于优化反向代理功能。它与上游服务器建立连接的超时时间、读取上游服务器的相应超时时间无关。
fail_timeout默认的是10秒。 - down:表示所在的上游服务器永久下线。只在
ip_hash才有用。 - hackup:在使用
ip_hash配置时时它是无效的。它表示所在的上游服务器只是备份的服务器,只有在所有的非备份服务器都失效后,才会向所在的上游服务器转发请求。
    upstream myapp1 {
        server srv1.example.com weight=2 max_fails=3 fail_timeout=15;
        server srv2.example.com weight=3;
        server srv3.example.com;
    }
做个测试
version: '2'


services:
  liz-nginx:
    image: nginx
    container_name: liz.com
    restart: always
    ports:
      - 8888:80
      - 80:80
    volumes:
      - ./wwwroot:/usr/share/nginx/html
      - ./conf/nginx.conf:/etc/nginx/nginx.conf

  test-docker1:
    container_name: test-docker1
    image: liz2019/test-docker-go-hub:v1.0
    ports:
      - 8010:8010


  test-docker2:
    container_name: test-docker2
    image: liz2019/test-docker-go-hub:v2.0
    ports:
      - 8020:8020

  test-docker3:
    container_name: test-docker3
    image: liz2019/test-docker-go-hub:v3.0
    ports:
      - 8030:8030
分别push了三个版本的liz2019/test-docker-go-hub镜像,分别监听不同的端口。
然后修改nginx.conf,通过upstream,实现三个go项目的负载。
user nginx;
# 指定使用 CPU 资源数量
worker_processes  1;

events {
    # 连接数
    worker_connections  1024;
}

http {
    include       mime.types;
    default_type  application/octet-stream;
    sendfile        on;
    keepalive_timeout  65;

    upstream go-hub {
        server test-docker1:8010;
        server test-docker2:8020;
        server test-docker3:8030;
    }

    server {
        # 指定端口
        listen       80;
        # 指定 IP (可以是域名)
        server_name  www.liz.com;
        location / {
            # 虚拟主机内的资源访问路径
            root   /usr/share/nginx/html;
            # 首页
            index  indexa.html index.htm;
        }
    }
    server {
        # 指定端口
        listen       80;
        # 指定 IP (可以是域名)
        server_name  www.liz.*;
        location / {
            # 虚拟主机内的资源访问路
            proxy_pass  http://go-hub;
        }
    }
}
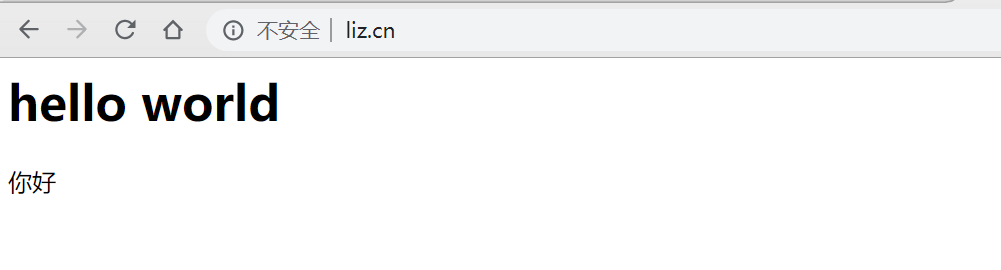
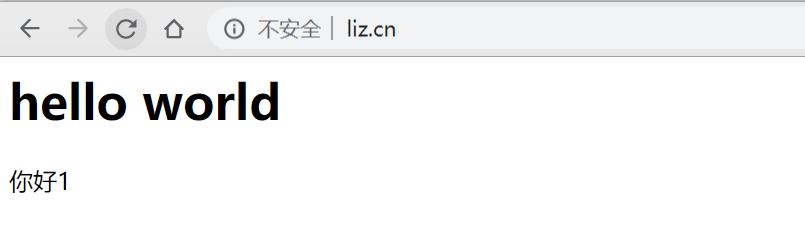
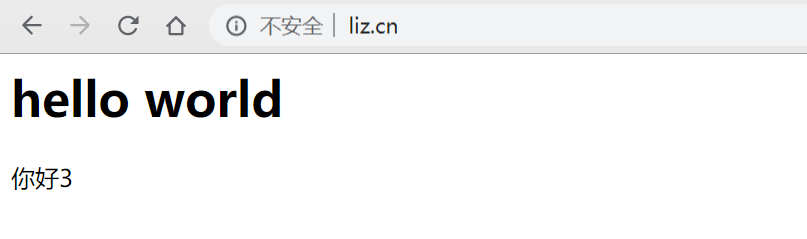
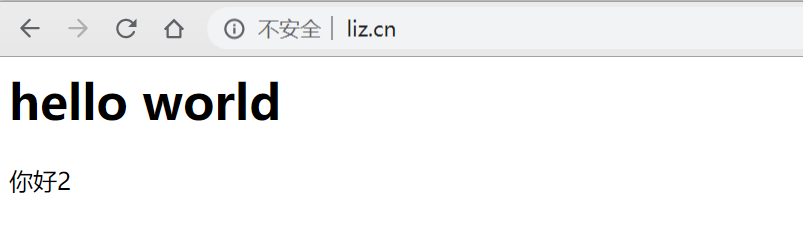
连续请求三次,发现已经转向了不同的服务中了,一个简单的负载均衡就实现了。
ip_hash
当对后端的多台动态应用服务器做负载均衡时,ip_hash指令能够将某个客户端IP的请求通过哈希算法定位到同一台后端服务器上。这样,当来自某个IP的用户在后端Web服务器A上登录后,再访问该站点的其他URL,能够保证其访问的还是后端Web服务器A。 如果不采用ip_hash指令,假设来自某个IP的用户在后端Web服务器A上登录后,再访问该站点的其他URL,有可能被定向到后端Web服务器B,C…上,由于用户登录后SESSION信息是记录在服务器A上的,B,C…上没有,这时就会提示用户来登录
    upstream myapp1 {
        ip_hash;
        server srv1.example.com;
        server srv2.example.com;
        server srv3.example.com;
    }
ip_hash和weight不可同时使用。如果upstream中一台服务器不能使用了,不能直接删除该配置。可以加上down,确保转发策略的一贯性。
最少连接
连接最少的. 最少连接允许在某些请求需要较长时间才能完成的情况下更公平地控制应用程序实例上的负载.
使用最少连接的负载平衡,nginx将尝试不使繁忙的应用程序服务器因过多的请求而过载,而是将新的请求分配给不太繁忙的服务器.
 upstream myapp1 {
        least_conn;
        server srv1.example.com;
        server srv2.example.com;
        server srv3.example.com;
    }
参考
【正向代理与反向代理【总结】】https://www.cnblogs.com/anker/p/6056540.html
【使用docker-compose部署nginx】https://www.jianshu.com/p/1f6232d787d9
【使用 Docker Compose 部署 Nginx 配置虚拟主机】https://segmentfault.com/a/1190000022348558
【nginx快速入门之配置篇】https://zhuanlan.zhihu.com/p/31202053
【Nginx配置文件nginx.conf中文详解】https://www.jianshu.com/p/3e2b9964c279
【nginx配置:server_name的作用】https://blog.csdn.net/Cheng_Kohui/article/details/82930464
【Nginx 配置常用参数,看这一篇就够了】https://learnku.com/articles/36768
【Using nginx as HTTP load balancer】http://nginx0org.icopy.site/en/docs/http/load_balancing.html